


It is the middle of the week. Your day has started well. As you pull into your parking space, you think, “Today will be a day to focus on my patients and perhaps catch up on some of that paperwork.” As you enter the office, you are told that your first patient is already waiting for you in room number three, and she has a prescription for custom-molded shoes. The sunshine has gone from your day.
If the above scenario sounds familiar, you are like the majority of O&P professionals who would rather not have to deal with custom shoes. It is not that you cannot do them well, but custom shoes seem to invite their own set of headaches and difficulties. Many O&P practitioners see the molded shoe business as a necessary evil that they must endure in order to develop and sustain the vital relationships with their hospital clinics and doctors.
The good news is that providing custom-molded shoes does not have to be quite so frustrating. There are many tricks and tips that we will look at to help ensure that with minimal time and effort on your part, you get a properly fitting shoe that satisfies the patient’s needs.
Patient Evaluation
From the moment you enter the exam room with a molded shoe patient, you can start to pick up some clues as to what may work best for him/her. The two key steps are: 1) see what is working now and might work for this patient, and 2) try to figure out what his/her mindset is regarding custom footwear.
First, see what kind of footwear your patient is currently wearing. Is it a fashion shoe? Is it a high-top? In general, it is a good idea to make a custom shoe that closely resembles patients’ existing style of footwear, provided they will get the therapeutic benefits they are seeking. However, this may not always be possible, especially if new shoes are needed due to some recent changes in the foot condition, such as partial amputations, the fitting of a new brace, or the development of a pre-ulcerative condition. Don’t forget to look inside the shoes at their existing insoles. Are the current shoes wearing in one spot, or are they too tight?
Note the condition of the old shoe: does it have an obvious wear pattern? Is it beaten and abused? You may need to design a more durable, heavy-duty shoe to withstand the patient’s demands. Chefs, construction workers, and little old ladies will all have unique requirements for their footwear that you can incorporate into the design. Outsole wedging, flares, grip soles, etc., can all help improve the function and longevity of the shoe.
Take note of the socks that the patient is wearing. Some patients will wear heavy socks in the winter-resulting in a tighter shoe-and change to light socks in the summer, resulting in a looser shoe.
Just as important as the shoe type and construction is the attitude that the patient has regarding footwear. From the outset it is vital that you stress that these are functional, therapeutic shoes. They are being custom made and custom designed to treat specific problems with the feet. These shoes are rarely wardrobe enhancers! It is a great idea to always keep a sample shoe close at hand to show patients. You need to prepare them for a comfortable accommodative pair of shoes that fits their feet, and usually those shoes will come with a rounder toe box and flatter outsole than they are used to. Pre-selling the medical reasons for the shoes and their final appearance will greatly reduce tensions when dispensing.
Try to avoid compromising too much on the shoe style. For example, patients who want sandals or open-topped shoes for summer have not really bought into the concepts of protective stabilizing footwear, and they are apt to be disappointed, no matter what you do. It is vital to manage their expectations.
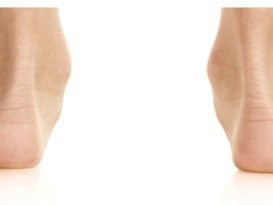
Casting
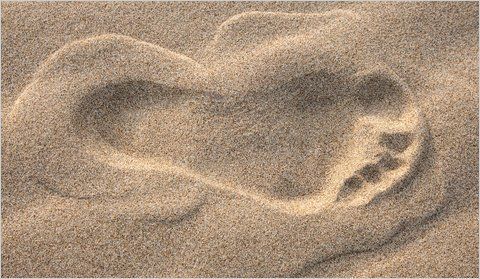
It is often correctly stated that the single most important step in making a custom-molded shoe is the cast. This cannot be overemphasized! A good cast will determine the correct fit and function of the shoe-and a bad cast never will. A few more minutes spent at this crucial stage can avert hours of anxiety later.
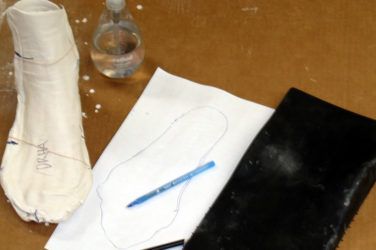
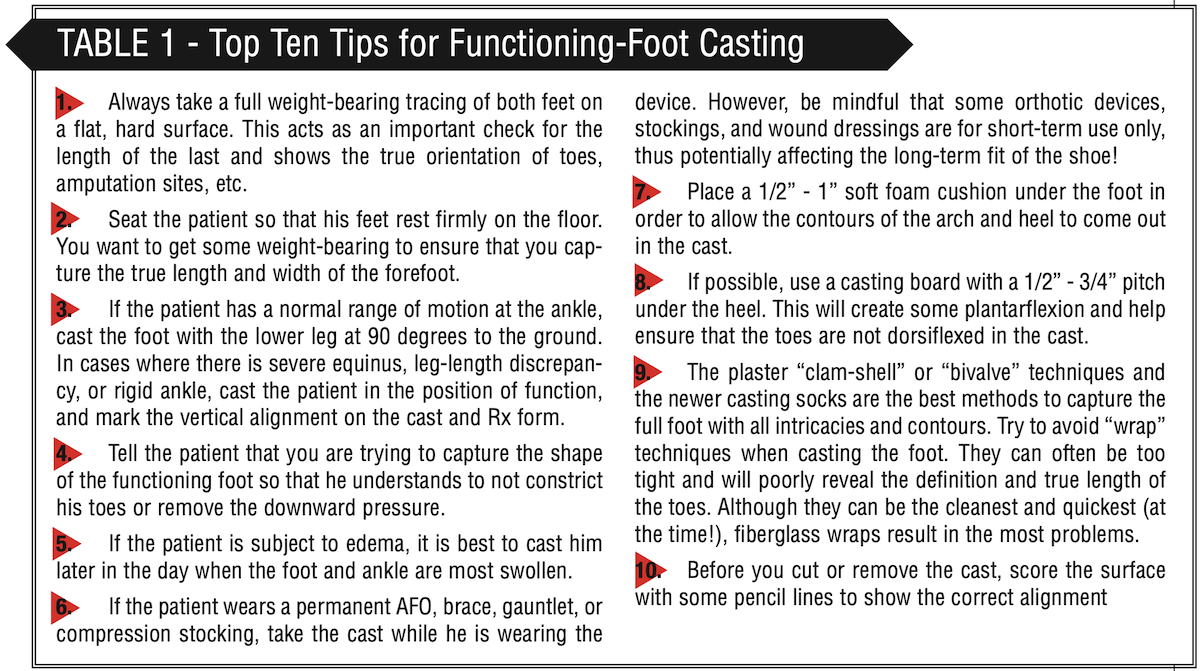
I have listed my “Top Ten” tips for capturing the true shape and size of the functioning foot in Table 1. As an extra precaution, you can take photographs of the existing footwear and feet, or, even better, send an old pair of molded shoes along with the cast.
 The choices on a shoe order form can often seem limiting and confusing. Your goal is to describe the best shoe that meets the original Rx and the patient’s biomechanical, therapeutic, and lifestyle requirements. The more information you can supply-including diagrams, photographs, and color samples-the better. Below are a few pointers to consider when designing the shoe:
Shoe style-Generally, the higher the counter of the shoe, the more control it will provide. Most patients will want low-top shoes for aesthetic reasons. Examine what they are wearing currently and ascertain if their shoes are working for them. Low-top shoes are easier to don and doff, but there is a greater chance of slippage and looseness at the heel. Patients with any midfoot pathology, such as Charcot or PTTD, or those patients wearing AFOs, braces, or bandages, will do much better in shoes with higher counters i.e., chukkas or high-tops.
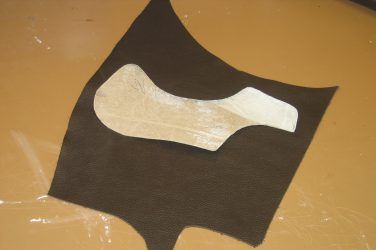
Shoe upper-The normal opening of a shoe goes across the ball of the foot. A surgical opening occurs more distally, almost over the toes. Surgical openings will make the shoe look a little more orthopedic, but they are very useful whenever the patient may have difficulty donning or doffing, such as when there is limited ankle range of motion or the patient needs help in dressing.
Velcro closures are quick and easy for people who have limited use of their hands, such as arthritis patients or those who have difficulty bending over to tie laces.
Padded collars are a good addition to help ensure a snug heel fit and also to reduce the possibility of the heel pistoning out of the shoe. Patients with fluctuating edema can also benefit from padded collars and padded tongues.
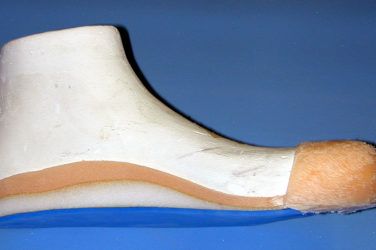
Cast modifications-The typical molded shoe comes with a standard 1/2″-3/4″ toe elongation. This extra plaster is added to the last and then checked against the weight-bearing tracing. If the original cast and tracing are good, there should be no problems with the fit of the shoe. Often patients will feel they are “swimming” in the new shoes. This is usually because they are used to tight and ill-fitting footwear.
Each cast gets a 1/4″ addition of plaster over the toe box area. Specifying an extra-high toe box will provide even more room for those patients with severe hammer toes.
Shoe weight-This will depend on the patient’s weight and activity level. Molded shoes are normally designed to be more accommodative to the foot, providing protection rather than being rugged. If the patient is heavy and/or is a heavy-duty user because he works outdoors or does a considerable amount of walking, the shoes can be made tougher by choosing a stronger, heavy-duty upper, adding sole stiffeners, using firmer soling materials, etc.
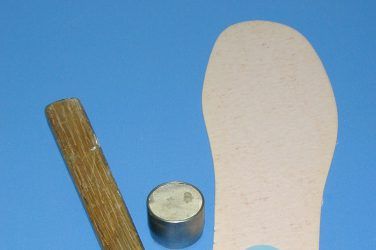
Insole-The insoles can be made from a variety of materials, depending on the patient’s needs. Plastazote offers the most protection, but EVA insoles tend to last longer. If the patient is wearing a brace, AFO, or gauntlet inside the shoe, it is best to make a cork insole that will hold up longer. Just as with any custom orthotic, depressions, pads, and postings can be built into the insole.
As an excellent insurance precaution I always recommend a spacer under the insole. This separate 1/8″ piece can be quickly and easily removed if the shoe is a little tight.
Lifts-Shoe lifts can be added to the inside and/or the outside of the shoe. Often patients will have their own preference based on the look. Lifts up to 1/2″ are not usually noticeable to the untrained eye. It is often better to put a lift on the outsole of the shoes as the height can easily be adjusted later without affecting the internal fit of the shoe.
Outsole-A great deal of the biomechanics of the shoe can be controlled by selecting or altering the outsole. A standard shoe will have 3/4″ of pitch from heel to ball. Rocker soles are very useful for offloading met heads or aiding ambulation in patients with limited gait cycles. Flares and wedges can be incorporated to improve stability or alignment. In cases where the final balance of the shoe depends on how the patient adapts to the new support, it is often best to request that the outsole be left off. This will allow you to modify the pitch and wedging in the presence of the patient.
Fitting
It may sound elementary, but the first rule of success in fitting custom shoes is that the person who cast the patient should fit the shoe. If you have shown the patient a sample of a molded shoe, pre-sold him/her on the benefits of proper fitting, therapeutic footwear, and developed trust and rapport, then there should be no surprises when the patient sees the shoes.
Check the shoes for fit and function, and, in particular, look at the length and width. Patients will certainly feel that the shoes are different from anything they have had before. Feeling looseness at the heel is not uncommon. This is often due to a stiff outsole that does not yet bend. Once the shoe has been worn a little, the outsole will flex, and the heel will not feel so loose. If the shoe is a little tight, you can remove the extra spacer below the insole and/or adjust the insole.
Unless the shoes are obviously incorrect, regardless of how they feel-good or bad-patients should break them in slowly over a period of about two weeks, checking their feet daily. Start them with one hour the first day and build the time up gradually. After two weeks, patients will have had time to adapt to the shoes and, if they need an adjustment, they will be able to tell you exactly what is required.
With a good cast, a clear description of the shoe, and an educated patient, you should be able to fit most molded shoes right the first time. This will make the whole process more pleasant and efficient-and the sunshine will return to your day.
Séamus Kennedy, BEng (Mech), CPed, FAAOP(A), is president and co-owner of Hersco Ortho Labs, New York. He can be contacted at seamus@hersco.com or by visiting www.hersco.com.