


Custom-molded shoes, although not always a major part of an O&P practice’s revenue stream, can be an important adjunct to securing the confidence of crucial referral sources and clinics. They can be a small but critical investment, which makes it all the more vital to evaluate, prescribe, and dispense them with confidence and without the headaches of repeat visits and remakes.
Prescribing and fitting custom-molded shoes can be tricky for many reasons. Often the trouble begins with patients and their concept of the term custom shoe. Images of streamlined penny loafers in cordovan may slip across their minds. This is slightly different from the full toe box, extra-depth, flat-soled therapeutic shoe that you know they need. Other times, patients may not want to accept their medical condition, let alone the need for specialized footwear. Your first clue can be found by simply looking at the patient’s existing footwear.
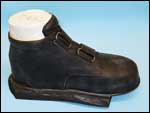
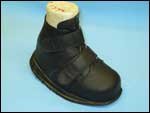
As a rule, it is always important to evaluate and prescribe the shoe that the patient needs – not the one that he or she wants. Compromises will not serve the patient well, and it will only cause problems further down the road. It is a good idea to have a sample molded shoe on hand to show the patient what to expect. This is also a great opportunity to educate the patient on the important aspects of protective, well-fitting shoes so they will understand exactly the device and the service that you are providing.
Understanding what goes into making a custom shoe once the lab receives the cast may help to avoid some of the common pitfalls that can occur.
A Behind-the-Scenes Look at Making a Custom Shoe
|
|
||||
|
|

The single most important contribution to the success of the final shoe is the first step – the cast. If the cast does not represent the weight-bearing, functioning foot, the shoe will not fit. An extra ten minutes spent here will save hours of wasted time later. (Editor’s note: See sidebar, “Quick Tips for Successful Custom Shoes“)
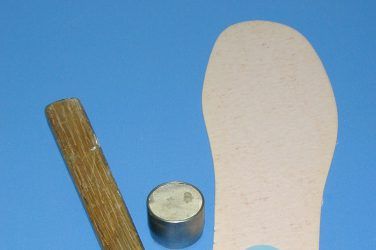
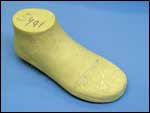
Once the negative cast (figure 1) arrives at the lab with the appropriate paperwork, the order is processed. The easiest evaluation for a cast is to put it on the bench and see if it falls over! Most casts should stand erect, especially if the patient is ambulatory, has reasonable range of motion (ROM), and no fixed deformity. If the cast tips over, and no abnormality is indicated, the lab will do some correcting to bring the lower leg to 90 degrees and keep the bottom of the foot plantargrade.
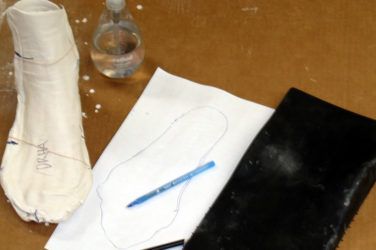
The negative cast is then sealed and poured with plaster to create a positive plaster foot, much like the method used for AFO manufacturing. Once the cast wrapping material is stripped away, the rough excess plaster is removed. We begin by tracing this raw plaster foot positive to get the first reference for the foot shape. The plaster foot is immediately compared to the weight-bearing tracings of the patient’s foot that should be sent with each order. This is a critical step, and it is the reason that we beg our practitioners to always take full weight-bearing tracings. If there has been any deviation in the casting due to perhaps an uncooperative patient, damage during transit, poor preparation and pouring by the lab, etc., the weight-bearing tracing is the only opportunity we have to spot the problem.
|
|
|
||||||
|
|
|
This is especially true if the original cast is taken in fiberglass. A fiberglass cast is most prone to error. It can be pulled too tightly, showing the foot to be narrower than it really is. In addition, distal toe definition is often missed with fiberglass, leaving the lab to guess where the foot ends. Tracings provide a great safety net to ensure the final last reflects the functioning foot.
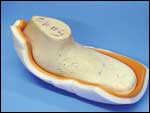
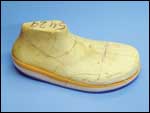
Modification of the raw plaster foot then begins to create a custom-molded shoe last. We start this stage by adding three-quarters of an inch of plaster bandage to the front of the foot and sculpting the shape of the front end of the shoe. Rarely is any material removed from the raw foot. This is one of the reasons the shoes look bulky. Most street shoes are narrowed along the outer borders and under the arch so they appear sleek. In essence, a molded shoe is crafted to go around the patient’s foot, thus ensuring no areas of pressure or friction.
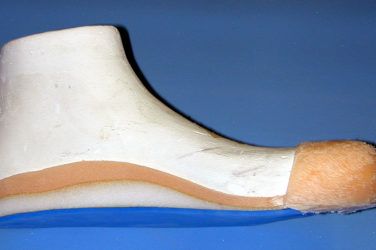
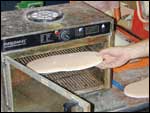
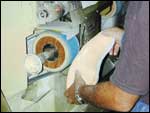
Once the finished last (figure 2) is balanced and corrected according to the prescription, the insole materials (typically Plastazote®, cork, or EVA) are heated and directly formed over the bottom of the last (figures 3 and 4). The insole material is trimmed and balanced, and a base layer may be added to the underside (figure 5). Current guidelines for custom inserts under the Therapeutic Shoe Bill (billing code A-5513) require that all insole fabricators have Statistical Analysis Durable Medical Equipment Regional Carrier’s (SADMERC) approval.
|
|
|
||||||
|
|

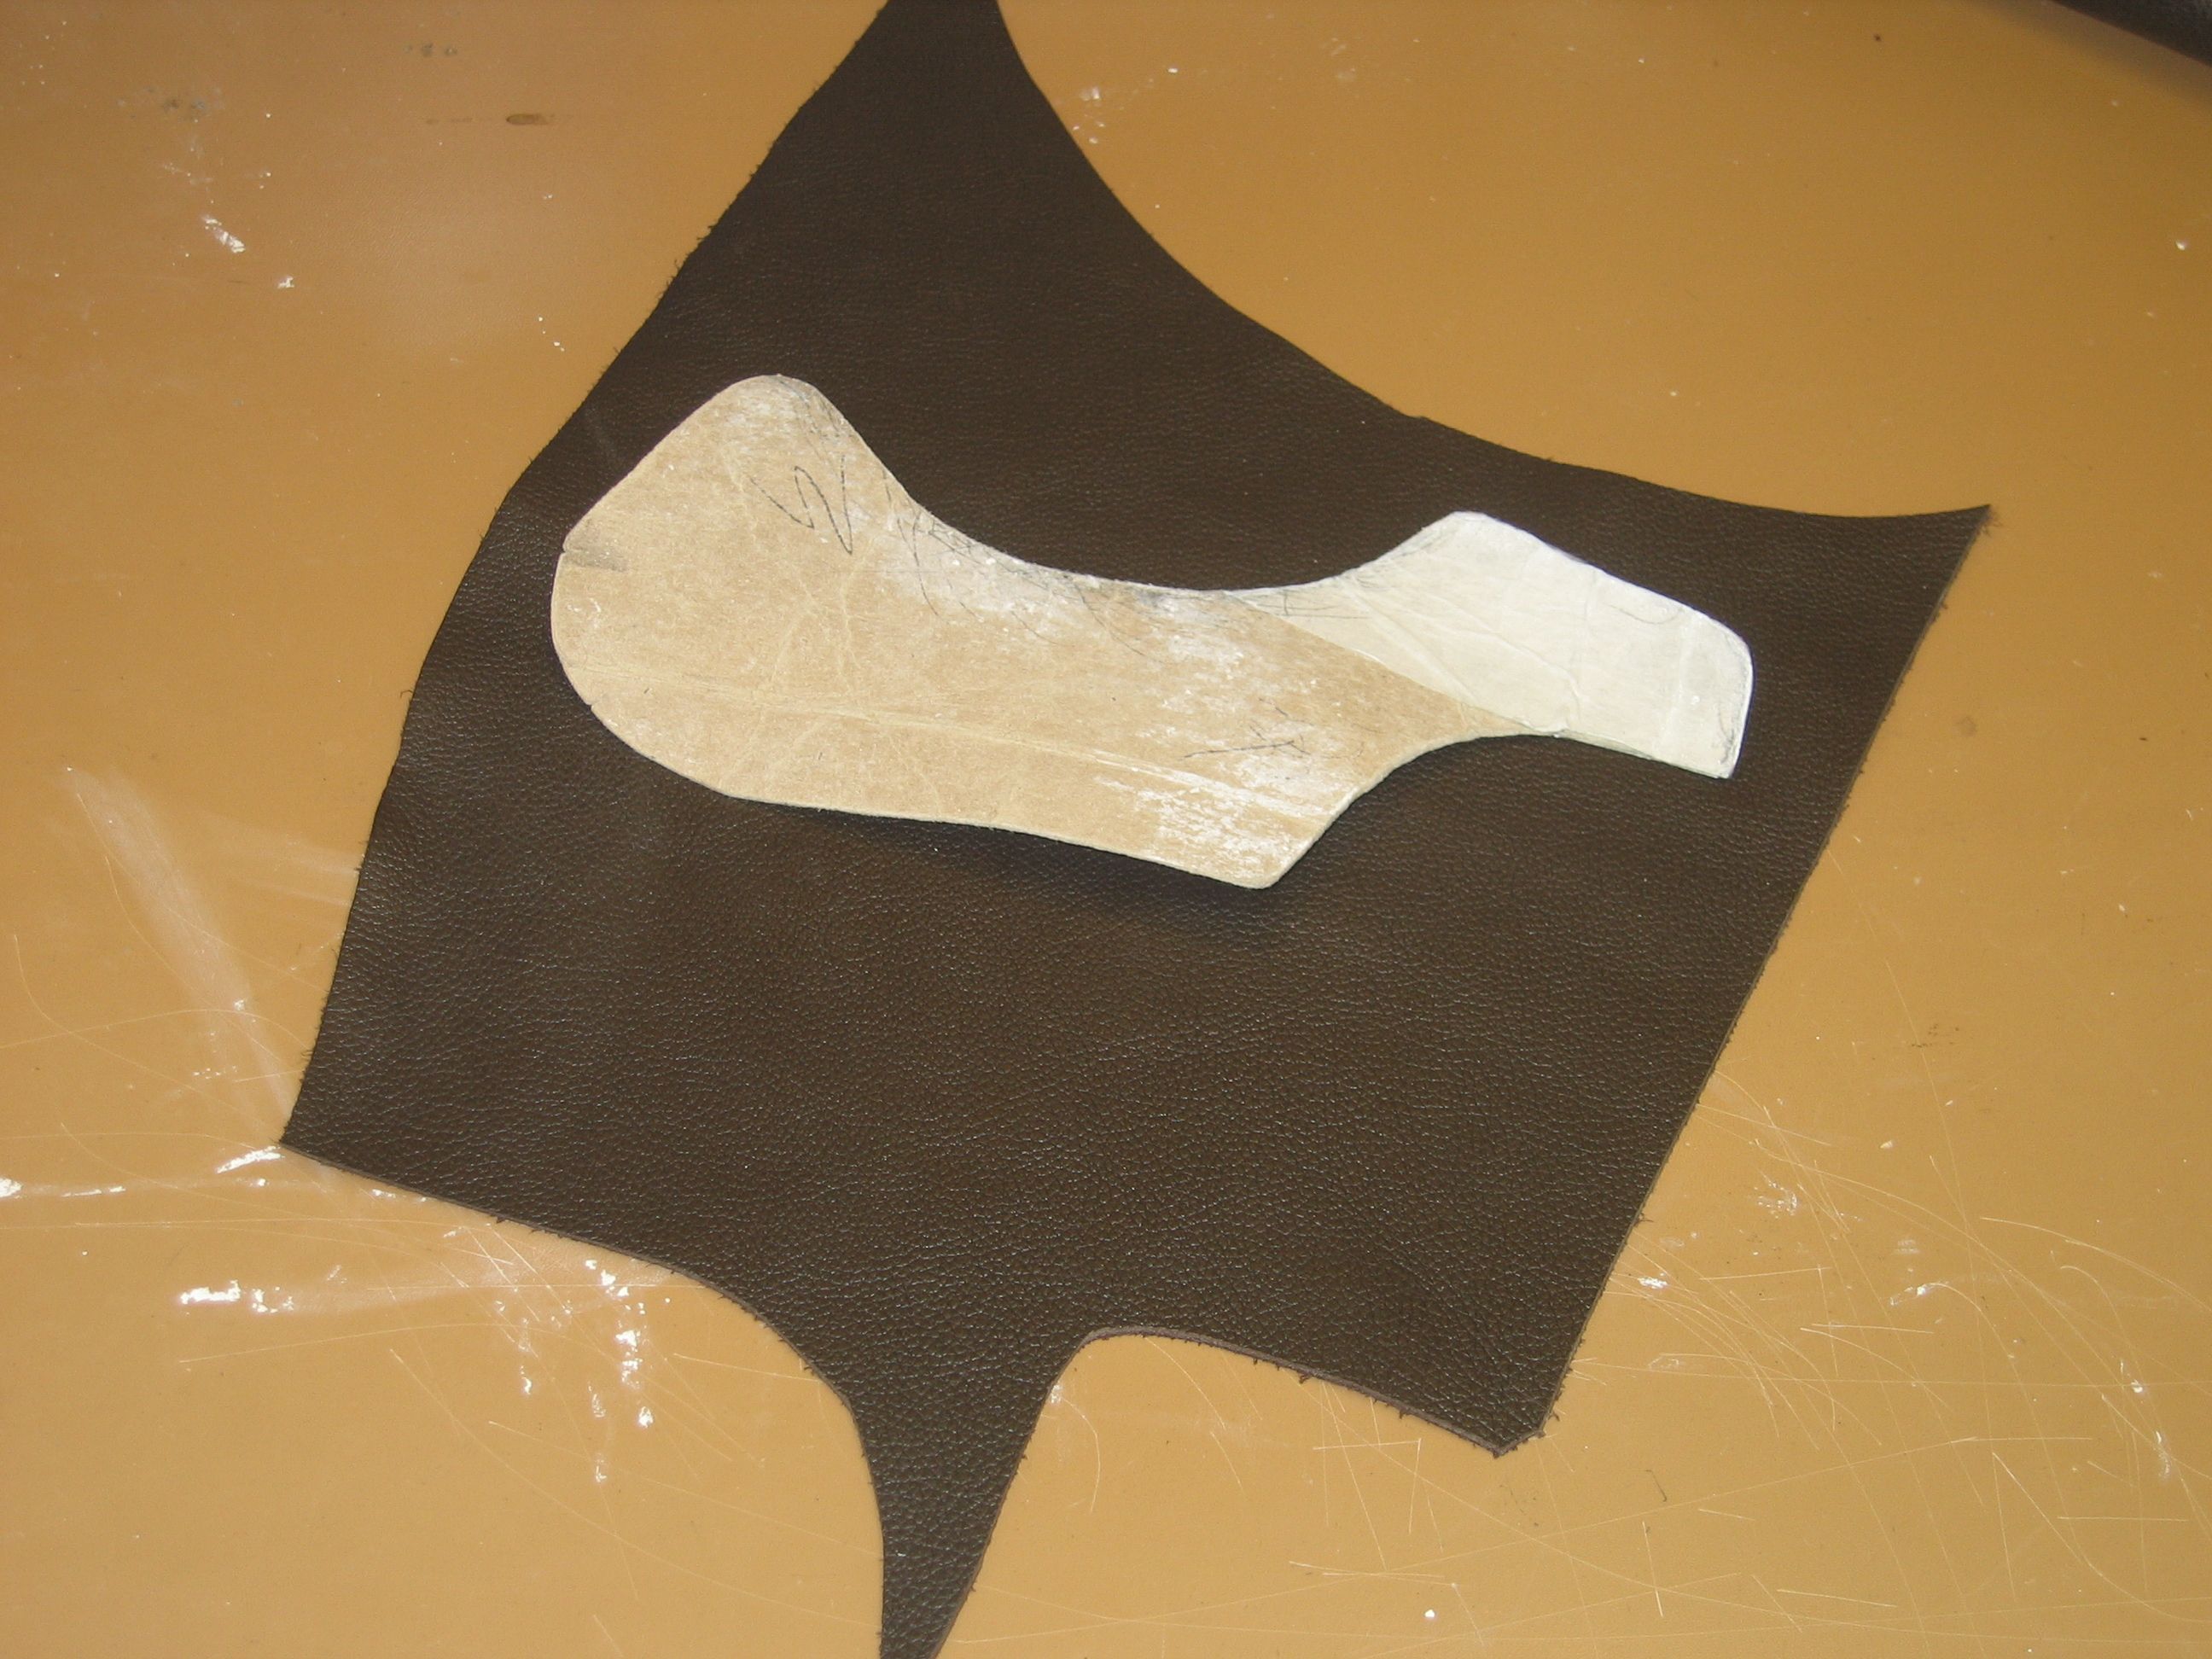
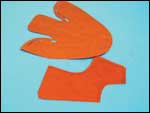
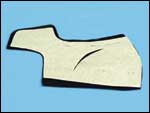
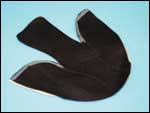
Next, a shoe pattern is drawn directly onto the plaster last, outlining the style of the shoe and the cuts of leather that will be necessary (figure 6). A paper pattern is then prepared to conform exactly to the last and insole. Using this paper pattern, both the upper (outside) leather and the lining (inside) leather/cloth are cut, along with a backcloth lining, which will go in between the two (figures 7, 8, and 9). The backcloth is essential for keeping the shoe upper’s integrity and preventing any warping of the layers. Usually only softer leathers are used for molded-shoe uppers due to the highly sensitive nature of “at-risk” feet that most of this population represent.
The leather quarters and vamp are then stitched to form the complete upper (figure 10). Any enhancements to the shoe, such as padded collars or padded tongues, are also stitched in at this time. Eyelets will be added for a lace closure, or Velcro® and D-rings will be sewn in as necessary.
Molded shoes can be made without upper sketching, pattern tracing, cutting, and stitching. Instead leather is simply wrapped around the last and insole and then given a single seam stitch in the back. These shoes are cheaper to fabricate, since a skilled upper maker and finish stitch person are not required. However, these shoes look very orthopedic and heavy, often disappointing the patient, and may lead to higher customer dissatisfaction and rejection.
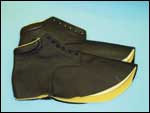
The stitched upper is then placed over the last, plus the insole, plus the baseboard material. (The baseboard is the material that you see inside the shoe when you remove the insert.) The baseboard, usually leather or Bontex® press board, gives the shoe structure and firmness and separates the insole from the midsole. The upper is then hand-pulled and attached over the entire assembly. Toe box reinforcement and heel counters are added at this stage (figure 11).
Next, welt and soling are added to the shoe (figures 12 and 13). Welt can add a little cost to the shoe, but it helps protect the upper from scuffing, gives a better appearance, and makes the final product look more like a “factory made” extra-depth shoe, which helps greatly with patient acceptance. Welt materials include natural rubber, leather, or synthetic plastics. The shoe sole is cemented on, balanced, and finished (figure 14). Standard industry practice is to give all shoes a plantar flexion, or heel raise, of between a half-inch and three-quarters inch. This may be augmented with further lifts, wedges, or flares based on the individual requirements.
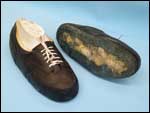
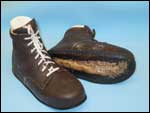
Finally, the plaster last is broken and removed from the shoe (figure 15). The shoe is then polished and shined, and nice laces are threaded as needed, at which time the shoes are ready to ship. If the cast was good, the prescription clear, and the patient’s expectations well-managed, then the final fitting should be smooth and comfortable. Even a well-made custom shoe requires a gradual break-in period to allow the midsole to flex easily and for the insole to conform to the dynamic foot.
Séamus Kennedy, BEng (Mech), CPed, is president and co-owner of Hersco Ortho Labs, New York, New York. He can be contacted via e-mail at seamus@hersco.com, or visit www.hersco.com
Quick Tips for Successful Custom Shoes
Fitting custom-molded shoes is a detailed process. In addition, patients can often be emotionally sensitive. In order to minimize the potential for problems, the following tips should help to ensure that you consistently obtain the desired results.
The Cast
- Taking a good cast is the single most important step in making a shoe. Do not rush this step. It is best to use a foam-covered casting board.
- The goal is to make sure the cast represents the true size and shape of the weight-bearing foot. This includes allowing for edema (more prevalent later in the day), raised toes, bunions, significant toe extensions, etc.
- Tell the patient not to contract his or her feet during casting. You are trying to capture the true width and length.
- If you are using fiberglass splints, be aware that this is the least accurate casting method. Be careful not to over tighten the wrap at the ball of the foot or a the toes.
- Take tracings of the weight-bearing feet on separate sheets of paper. If the patient has existing well-fitting shoes, trace the outline of these insoles as well.
The Shoes
- Choose the shoe style (low-top/chukka/high-top) based on the patient’s pedorthic needs. See what he or she currently wears and whether or not it is working.
- Low-top shoes will look lighter, dressier, and less orthopedic. Chukkas and high-tops will provide more control and stability. Sandals, clogs, etc. are discouraged and seldom used as they provide little support.
- Molded-shoe features such as extra-depth insoles, wedge insoles, surgical openings, etc., will be more comfortable and functional for the patient to wear, but the shoes do not look fashionable.
The Patient
- Patient management is of the utmost importance. The patient needs to know that you are designing the shoes to resolve a specific medical condition (not to enhance his or her wardrobe).
- Be careful to not oversell the shoes in terms of function or cosmetics. Patients can build up unrealistic expectations. It is good to show them some pictures or even a sample of molded shoes beforehand. Send photographs of their existing shoes to the lab if possible.
- Explain to the patient how the shoe will look, and why, before you cast and as you are fitting the shoe.
- Be confident when dispensing the shoe. If the shoe appears to be too tight or loose on the first fitting, there should be no cause for concern. Molded shoes are designed to be easily modified if required.
Remember, custom-molded shoes are only intended for that segment of the population that cannot get proper fit or function from extra-depth shoes.
Séamus Kennedy, BEng (Mech), CPed, FAAOP(A) is president and co-owner of Hersco Ortho Labs, New York, New York. He can be contacted at seamus@hersco.com or by visiting hersco.com.