


Dispensing custom foot orthotics successfully can be beneficial to patients, rewarding for the practitioner, and can also generate referrals that help a practice grow. Having more than 17 years of experience owning and running a foot orthotics lab, we have seen tens of thousands of casts and prescriptions. In that time, we have garnered some insights into what generally works—and what does not. This article outlines some of our top tips for casting and dispensing custom foot orthotics.
1. GowithWhatWorks
If a patient is currently wearing custom orthotics that work well, it is usually best to follow a similar design when ordering a new pair. The older the patient is the truer this statement becomes! Sometimes it can be tempting to change the shell or modernize the design, but as one podiatrist famously counseled his residents, “Don’t buy a headache!” Additionally, you can refurbish the old pair, which will give the patient a backup set. Pictures are very helpful when replicating an existing device. E-mailing or texting a photo to the fabrication lab can ensure that the exact design, materials, and even the colors are matched.
2. Test, Test,Test
If you have the time, and the patient is willing, test the best design.
– Keep sets of prefabricated orthotics in your office that patients can wear briefly. This will allow you to see if they can tolerate corrections and if certain designs, such as a medial flange, will work for them. Some feet will quickly reject an orthotic as unbearable!
– Use a compressible top cover, such as Plastazote®, on a trial orthotic for one to two weeks to get a good impression of high-pressure areas. Active patients will quickly indent the material with their feet. You can send this to the lab that fabricates the final device so the technician can accurately locate the areas that need a depression or relief.
– Add adhesive-backed felt or cork posting to existing devices to see what works. Build-ups, wedges, drops, and pads can all be added to a current device or incorporated into a new one.
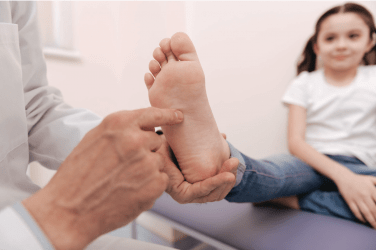
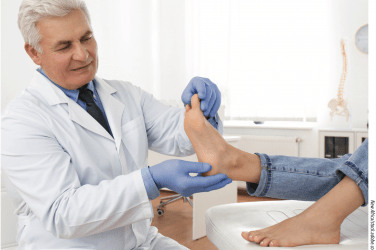
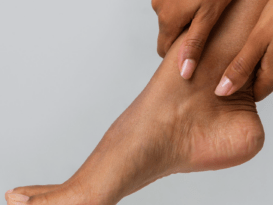
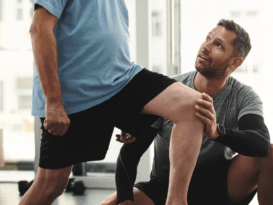
– A full biomechanical exam is vital to diagnose the root cause of a problem. Joint range of motion, muscle strength, symmetry, and callusing are all clues to underlying deficits that may be causing symptoms.

Provide all of the information on data forms to obtain the best outcome.
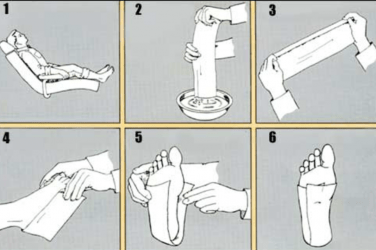
Photographs courtesy of Hersco Ortho Labs.
3. Record PatientDetails
Patient weight, shoe size, activity level, and shoe type are important factors to consider when deciding what will work best. This is critical data for the lab, helps determine the material and design for the orthotic, and, if you are unsure, is the information the lab needs to guide you to an appropriate device.
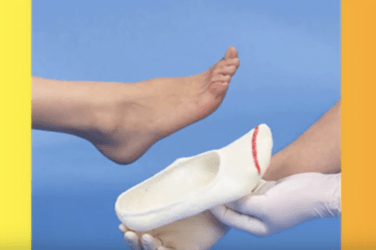
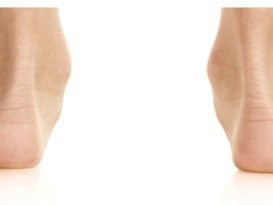
4. Take a GoodCast
It seems obvious but it is worth repeating—a good cast is critical to the final outcome. Many practitioners prefer a non-weight bearing subtalar joint (STJ) neutral plaster slipper cast. This method allows the practitioner to capture the forefoot to rearfoot relationship accurately. It is especially helpful in cases where you are trying to affect biomechanics, for example, runners with plantar fasciitis or heel pain. However, if your STJ neutral technique is not up to par, or the patient needs an accommodative device to off-load pressure, then a semi-weight bearing impression foam may adequately capture the foot. In all cases, try to capture a vertical calcaneus. For more information on casting techniques, read “Casting for Foot Orthotics”.
5. Take aTracing
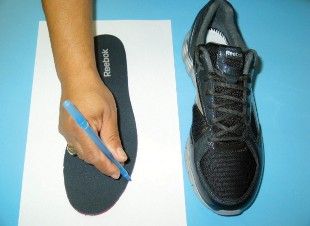
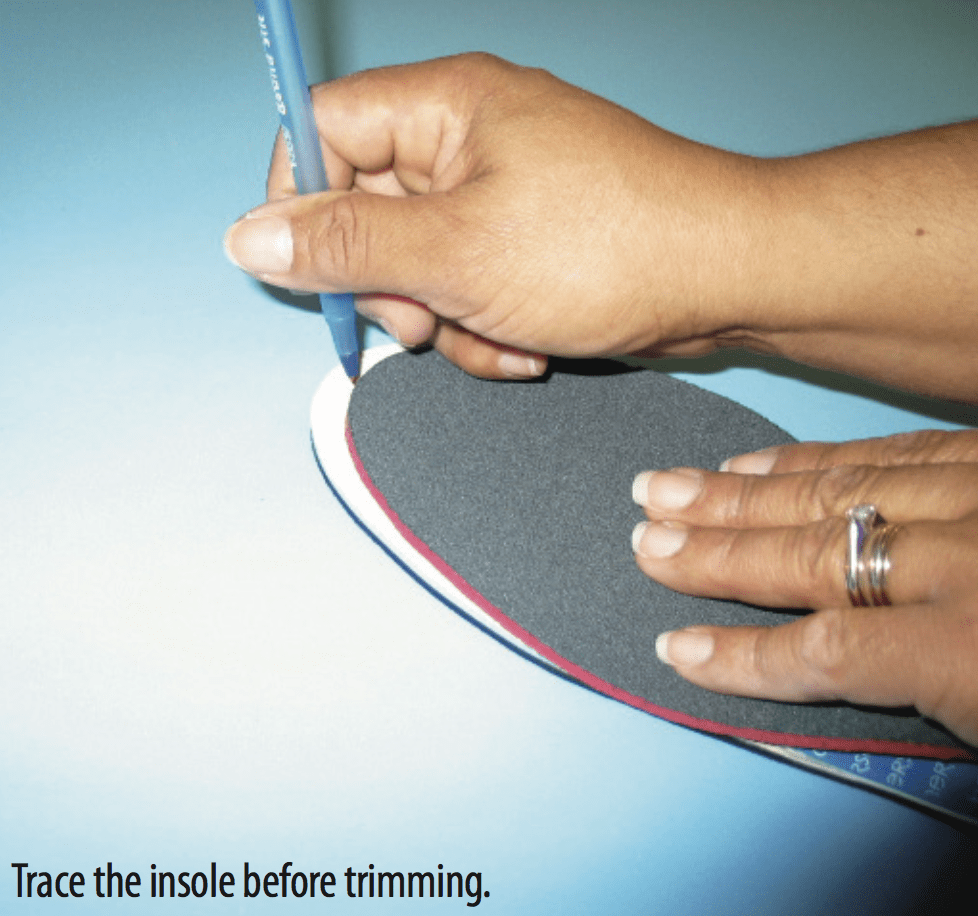
Most labs will err on the side of caution and leave the top covers long. After all, it is better to be one inch too long than 1/8 inch too short. If you want to avoid having to trim the front of the orthotic take the existing insole out of the patient’s shoe and trace it on a plain sheet of paper. For a perfect fit, send a pair of shoes with the order.
If you have to trim the front edge of the orthotic, use the sock liner as your template. Take the opposite shoe insole (left) and put it back-to-back against the orthotic (right) and trace it. Then carefully cut along the line you drew.

6. ShowSamples
New patients may have never seen a custom orthotic. It is always a good idea to keep a few samples on hand. This helps to prepare the patient ahead of the actual fitting and allows them to appreciate that they may need to wear different shoes.
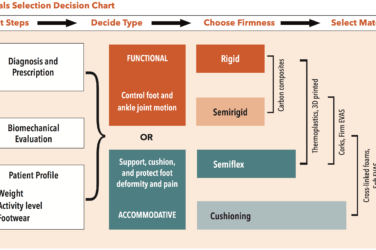
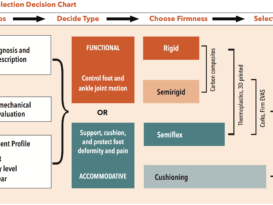
7. Design forAdaptability
When you have leeway to design the final device, certain options improve your chances of success and give you room to make adjustments.
– Accommodative materials such as corks and ethyl- ene vinyl acetates (EVAs), although not rigid, offer good control—especially in well-constructed, support- ive shoes. These materials are more easily adjusted on a sanding wheel without affecting the main body of the device.
– Thermoplastics have the advantage of being less bulky than traditional accommodative devices. Based on the thickness of the material and the patient’s weight, they can offer some shock absorption and flexibility. They may allow for bench-top adjustments if you have access to a heat gun.
– Carbon-fiber composites such as graphite, TL-2100, and Carboplast® offer great support and have the advantage of being thinner, but they are difficult to adjust by either heating or grinding.
8. OnlyUseWhatIsNecessary
Use the least amount of pads, cushions, depressions, and layers necessary to achieve the desired result. Too many embellishments take up room in the shoe and increase the likelihood of adjustments.
The number-one complaint regarding orthotics is that they are too bulky and difficult to fit into shoes, so do not specify “full length” unless the patient is wearing a shoe with a removable inlay. A “sulcus-length” top cover still allows adequate padding for the forefoot without crowding the toe box.
Thin top cover materials such as leather or vinyl are extremely durable and take up less volume. Shock-absorbing materials such as Spenco feel good to the touch but they can rob precious space without adding to the function.
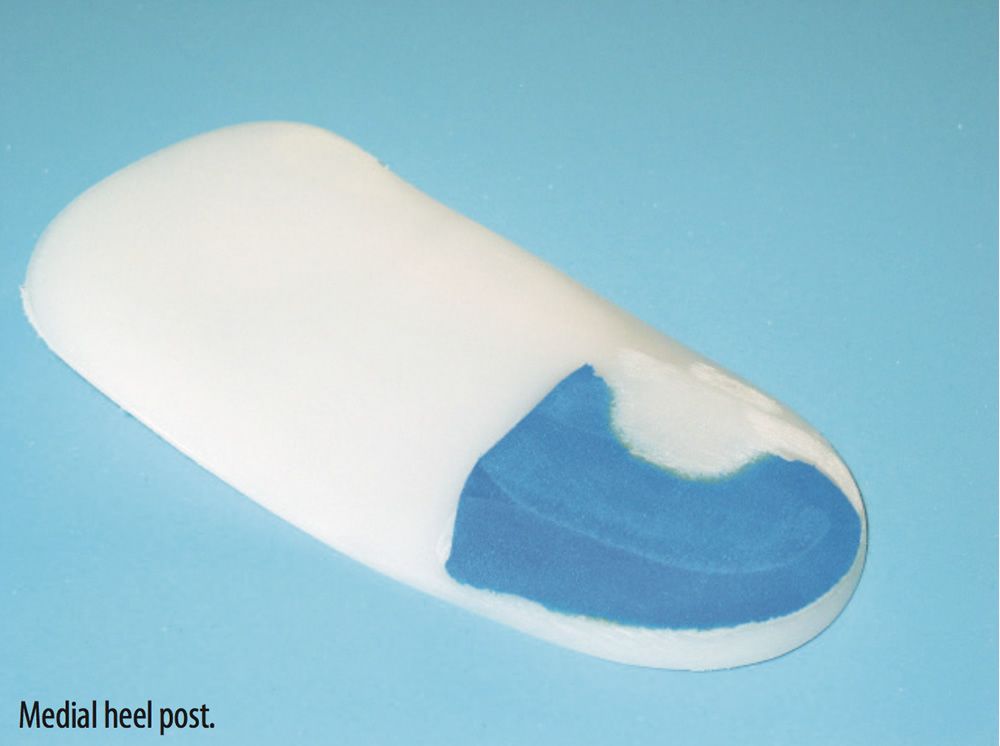
9. PostCarefully
In theory, the extrinsic post offers superior support and control, but in practice it can be too bulky, forcing the patient to either wear larger shoes or to stop wearing the device. You can request a post on the medial side only, instead of full rearfoot posts. For a number of reasons, forefoot posts should be used sparingly. A Kirby-type skive essentially flat- tens a portion of the medial heel. This is another way to increase ground reaction force and resist pronation without taking up too much space.
10. BePatientwiththePatient
Make certain the patient follows the correct break-in protocol. It is usually best to make adjustments slowly—only after you are sure that you are getting clear feedback.
11. GetSomeEquipment
A simple bench-top sander is a resourceful tool. It easily smoothes and feathers the front edge of a device that you just trimmed. It can also help adjust a post, de-bulk a device, or narrow the shank of a shell to get a better fit inside the shoe.
Heat guns are helpful if you need to make slight modifications to thermoplastics. A heat gun also allows you to peel back vinyl top covers if you need access to the pads. Likewise, a handheld Dremel rotary tool will allow you to make spot adjustments and depressions.
12. KnowYour Expertise
Occasionally a patient will show up in your office with a bag full of custom orthotics from previous providers. This can be a clear signal that there is more at play than a simple orthopedic diagnosis. If previous, competent practitioners have all missed the mark, and especially if more than one type of orthotic has been made, then it is quite possible that there are more subtle forces at play. Beyond biomechanics, there are also the effects of muscle tuning and the body’s preferred movement path. These concepts, developed by Benno Nigg, Dr.sc.nat., Dr.h.c. mult., are more fully discussed in a previous Stepping Out article (“Exploring a New Paradigm in Biomechanics,” www.oandp.com/articles/2011-11_06.asp. Before undertaking such cases, it is important to determine whether you have both the time and the necessary experience to properly assess and work with the patient.
Finally, don’t forget to call! The lab you work with should be delighted to hear from you and be more than willing to help in the design process. The goal of every practitioner is to efficiently provide patients with well-fitting and comfortable devices. We want to give patients exactly what they need so they are able to get relief from their symptoms, accelerate the recovery process, and return to an active and full lifestyle as soon as possible.
Séamus Kennedy, BEng (Mech), CPed, is president and co-owner of Hersco Ortho Labs, New York. He can be contacted via e-mail at seamus@hersco.com or by visiting www.hersco.com.